How Proper Flashing Prevents Roof Leaks — And Why Most Roofers Overlook It
TLDR;
Roof flashing prevents leaks by sealing vulnerable areas on your roof where water intrusion is most likely—like chimneys, vents, and valleys. Many roofers overlook proper flashing installation due to cost-cutting, lack of training, or time-saving shortcuts, putting your entire roof system at risk.
Why Flashing Is Crucial for Roof Waterproofing in Texas
Roof flashing is one of the most critical components of a leak-proof roofing system—especially in Texas, where volatile weather puts extreme pressure on roof durability. Flashing refers to thin pieces of metal (like aluminum, copper, or galvanized steel) that redirect water away from critical joints and penetrations.
Where it matters:
- Around chimneys, skylights, and vent pipes
- Along walls and dormers
- In roof valleys
- At edges and eaves
Without flashing, these areas become weak spots that invite leaks, mold, and structural decay.
Stat to know:
According to regional studies and roofing experts in Texas,
up to 80% of roof leaks originate from improper or missing flashing.
What Flashing Actually Does (And Why It’s Ignored Too Often)
Flashing isn’t just a nice-to-have—it’s a strategic line of defense.
Here’s how it works:
- Seals transitions: Keeps moisture out where roofing materials change planes
- Redirects water: Funnels runoff safely away from joints and penetrations
- Prevents pooling: Avoids standing water that can degrade shingles and underlayment
- Supports longevity: Adds structural reinforcement in areas where roofs are most vulnerable
Why roofers overlook it:
- Time-saving pressures: Rushed timelines = skipped details
- Low-bid contracts: Cheaper quotes often exclude comprehensive flashing
- Lack of training: Not all crews understand proper methods for different types of flashing
- Material shortcuts: Inappropriate or substandard metals can degrade quickly in Texas heat
The Main Types of Roof Flashing (And Why They Matter in Texas)
Different roof configurations require different flashing types. In Texas, material choice and durability are especially important due to extreme sun exposure, hail, and heavy rains.
Most Common Flashing Types:
- Step Flashing: Installed where a roof meets a vertical wall; layered to shed water step-by-step.
- Chimney Flashing: Includes base, cap, and step flashing to protect around chimney walls.
- Valley Flashing: Shields the "V" where two roof slopes meet; prone to runoff concentration.
- Drip Edge: Installed along eaves and rakes to prevent water from seeping behind fascia.
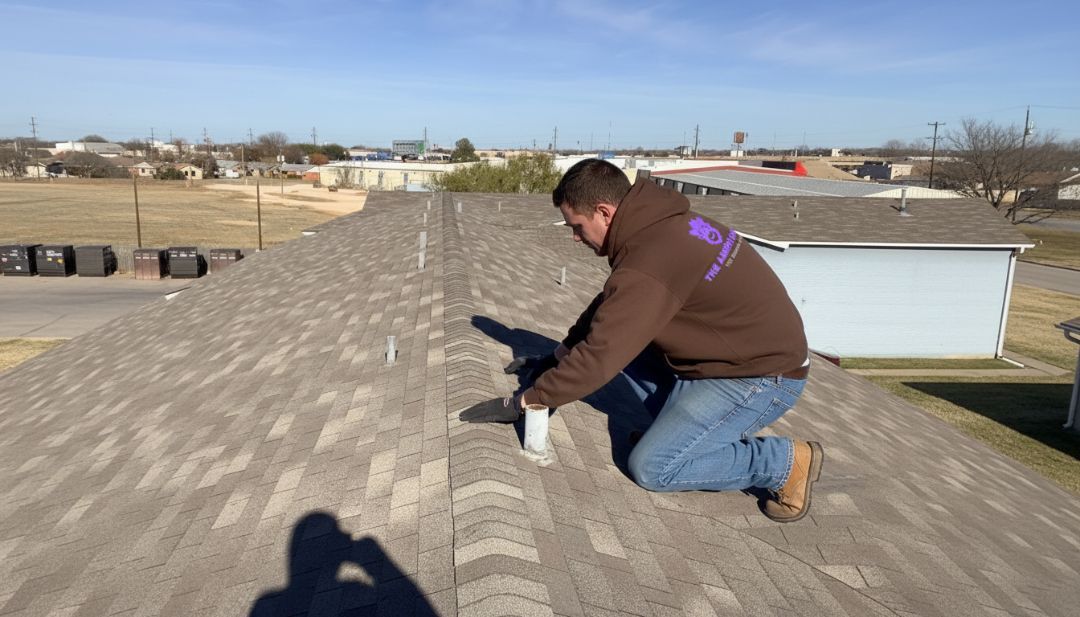
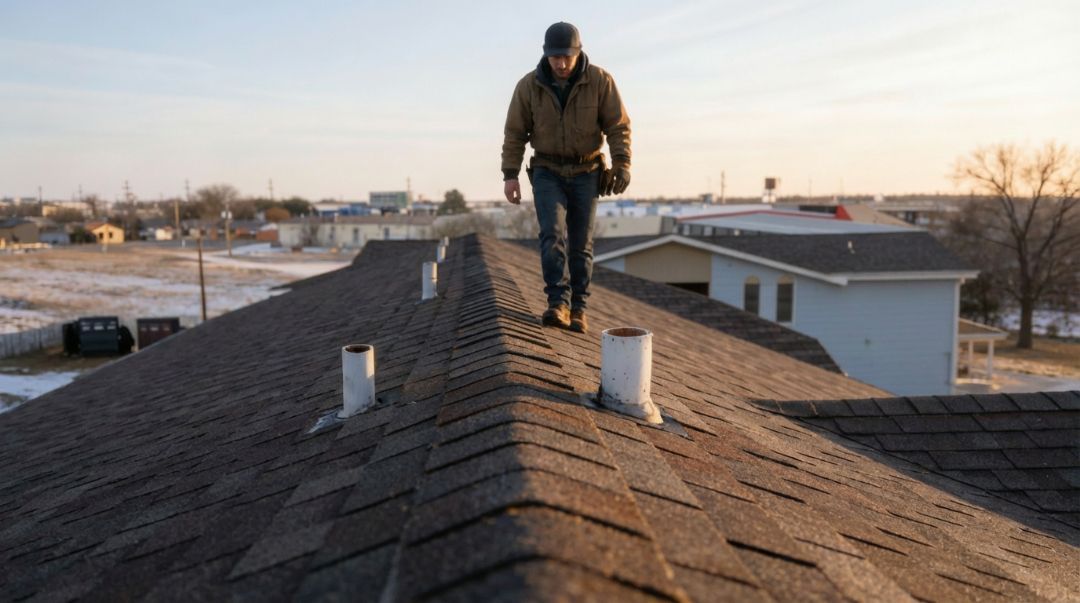
- Pipe Boot Flashing: Seals around round penetrations like plumbing vents.
- Kickout Flashing: Redirects water away from siding at roof-to-wall intersections.
Best Materials for Texas Roofs:
- Aluminum: Lightweight and corrosion-resistant but may warp in high heat.
- Copper: Long-lasting and weathers well—ideal but more expensive.
- Galvanized Steel: Common and cost-effective but must be coated to resist rust.
- Rubberized Flashing: Used around pipes; flexible but can degrade in UV-heavy regions.
How Flashing Fails (And Why It’s Often Missed)
Even when flashing is installed, failures can still happen.
Common Flashing Failures:
- Cracks in sealant from age or UV exposure
- Improper overlaps that allow water to sneak under
- Loose flashing displaced by wind or hail
- Skipped sections during fast-paced installations
- Use of incompatible metals leading to corrosion
Why Roofers Miss It:
- Assume existing flashing is good enough
- Don’t inspect hidden areas like valleys or chimneys closely
- Fail to re-flash during re-roofing
- Over-rely on caulking instead of mechanical fastening
These oversights lead to slow-developing but expensive damage.
How Proper Flashing Installation Should Be Done (Step-by-Step)
Here’s how flashing should be installed, whether by a homeowner doing small repairs or by a professional roofer like Amish Roofer:
Step Flashing:
- Cut pieces to length
- Interlace with each shingle course
- Nail only into the roof deck, not the wall
- Cover with siding or trim—not exposed
Valley Flashing:
- Install underlayment first
- Center metal flashing in valley
- Leave a visible channel (open valley)
- Nail at edges—not near the center
Chimney Flashing:
- Install step flashing along sides
- Add counter flashing into mortar joints
- Seal with high-grade flashing caulk
Pipe Boot Flashing:
- Slide boot over pipe
- Secure with nails and underlay with shingles
- Seal around pipe with flexible rubber or neoprene collar
Kickout Flashing:
- Position at the base of roof-wall intersection
- Angle outward to direct water away from siding
- Integrate with step flashing and siding
Keeping Flashing in Top Shape: Inspection & Maintenance Tips
Proper flashing doesn’t stop at installation—it must be maintained as part of your regular common roofing maintenance routine. Texas weather can accelerate wear, so periodic checks are essential.
Best Practices:
- Inspect flashing twice a year—spring and fall
- Look for cracked sealant, rust, lifted edges
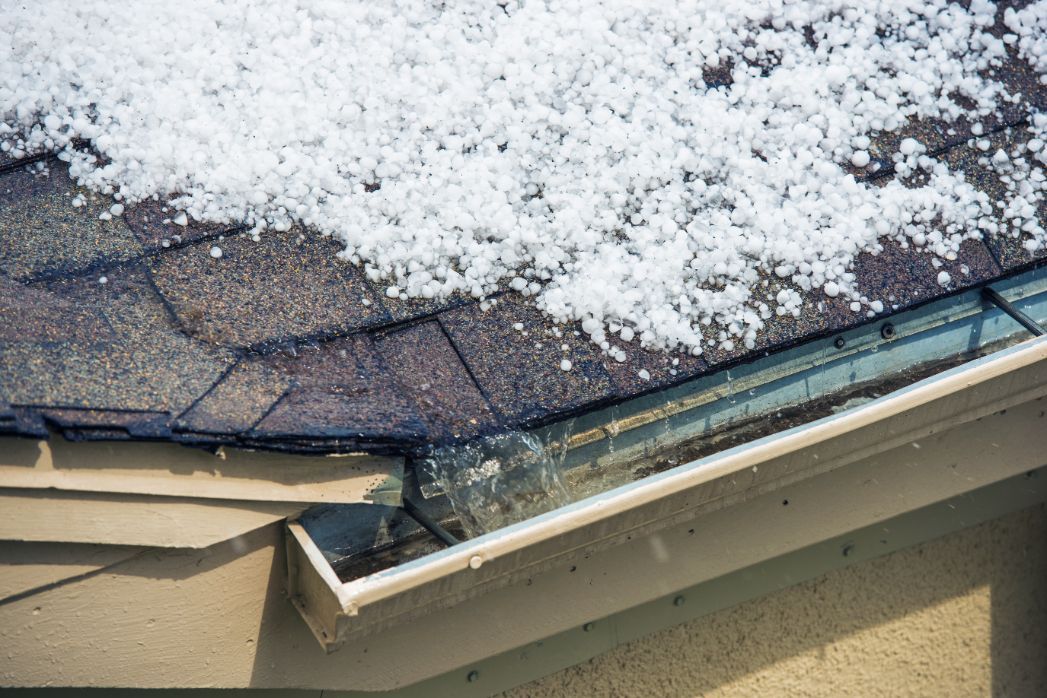
- Check after hailstorms and high winds
- Check the attic for signs of moisture or mold near flashing points
- Refresh caulking as needed with high-quality sealants
- Watch for signs of flashing separation near chimneys and valleys
When to Call a Roofing Professional (And What to Ask Them)
Not sure if your flashing is doing its job? A professional assessment can prevent thousands in future repairs.
What to Look For in a Roofing Contractor:
- Credentials and local experience
- Warranty on both materials and labor
- Willingness to inspect all flashing—not just surface-level
- Transparent quotes for flashing repair or
replacement
- Before-and-after photos or detailed inspection notes
Questions to Ask:
- “What type of flashing materials will you use?”
- “Will you remove and replace old flashing?”
- “How do you address thermal movement or storm exposure?”
- “Do you include kickout and drip edge flashing?”
Amish Roofer includes full flashing assessments with every roof inspection we perform in Texas.
What Happens When Flashing Is Ignored: The Hidden Costs
Flashing may be a small part of your roof—but neglect it, and the consequences spread fast:
Structural Risks:
- Roof deck rot under prolonged leaks
- Moisture intrusion into attic insulation
- Mold growth on sheathing, rafters, and walls
- Drywall stains and ceiling collapse
- Increased energy costs from moisture-compromised insulation
These repairs often run 10–20x more expensive than proactive flashing work.
Comparing Flashing Materials: What’s Best for Texas Homes?
| Material | Cost | Lifespan | Pros | Cons |
|---|---|---|---|---|
| Galvanized Steel | Low | 15–20 years | Affordable, widely used | Rusts if coating is damaged |
| Aluminum | Medium | 20–30 years | Lightweight, rust-resistant | Warps in extreme heat |
| Copper | High | 50+ years | Long-lasting, low maintenance | Expensive, theft risk |
| Lead | Medium | 30–50 years | Flexible, self-sealing | Toxicity concerns |
| Rubber/Neoprene | Low | 10–15 years | Flexible, good for pipe boots | UV degradation |
Amish Roofer Recommendation: For Texas homes, copper offers the best long-term value, but aluminum with proper UV coating is also reliable for cost-conscious homeowners.
FAQ
How often should roof flashing be inspected?
Twice a year—ideally in spring and fall. Always inspect after major storms.
Can I repair flashing myself?
Minor repairs, yes. But improper flashing can void warranties or cause worse leaks, so for major work, hire a pro.
What’s the best sealant for flashing in Texas?
Use high-grade polyurethane or silicone-based flashing sealants that can withstand extreme temperatures.
How long does roof flashing last in Texas?
Depends on material. Galvanized steel may last 15–20 years, while copper can exceed 50.